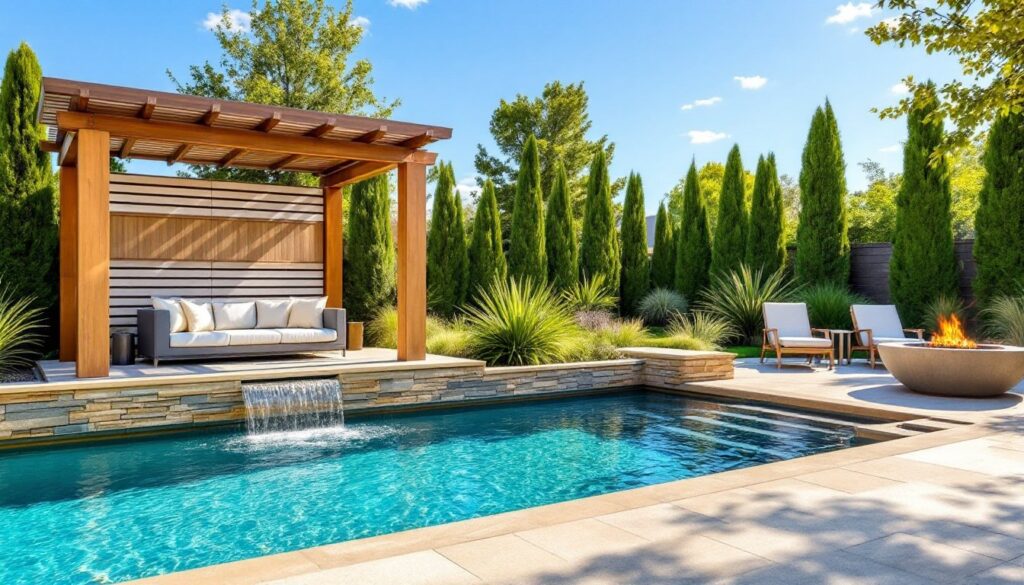
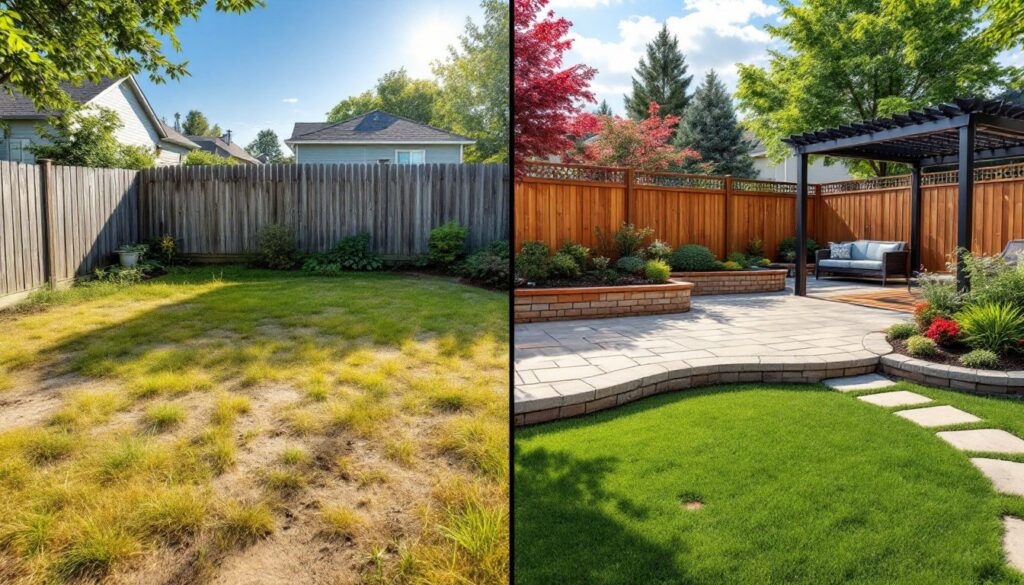
A backyard transformation isn’t just about aesthetics, it’s about reclaiming usable outdoor space, boosting property value, and creating a functional extension of the home. Whether working with a weedy patch of grass or a dated patio setup, seeing real before-and-after results helps homeowners visualize what’s possible with their own yards. This guide breaks down seven impressive landscaping transformations, from budget-conscious updates to high-investment overhauls, and walks through the planning steps, timelines, and common pitfalls that can derail a project before the first shovelful of dirt gets moved.
Table of Contents
ToggleKey Takeaways
- Backyard landscaping before and after transformations remove guesswork by showing realistic results within specific constraints like budget, lot size, and sun exposure.
- Plan your backyard transformation by mapping sun and shade zones, evaluating drainage, calling 811 to mark utilities, and prioritizing two to three core goals rather than attempting everything at once.
- Budget-friendly backyard makeovers like mulch refreshes, gravel pathways, and painted fencing deliver high-impact results for $2–$5 per cubic yard or linear foot when DIY labor is included.
- Professional-grade landscaping projects such as natural stone patios, irrigation systems, and retaining walls require proper base preparation, drainage slope (1% minimum), and often permit or engineering review to ensure durability.
- Common landscaping mistakes—skipping 811 utility calls, ignoring drainage, planting too deep, and underestimating material quantities—can derail projects; proper equipment rental and site photography prevent costly rework.
- A complete backyard landscape renovation typically takes four to twelve weeks for professionals or three to four months for DIY homeowners, with the process broken into five phases: demolition, hardscape, utilities, soil and planting, and finish details.
Why Before and After Transformations Matter for Your Project
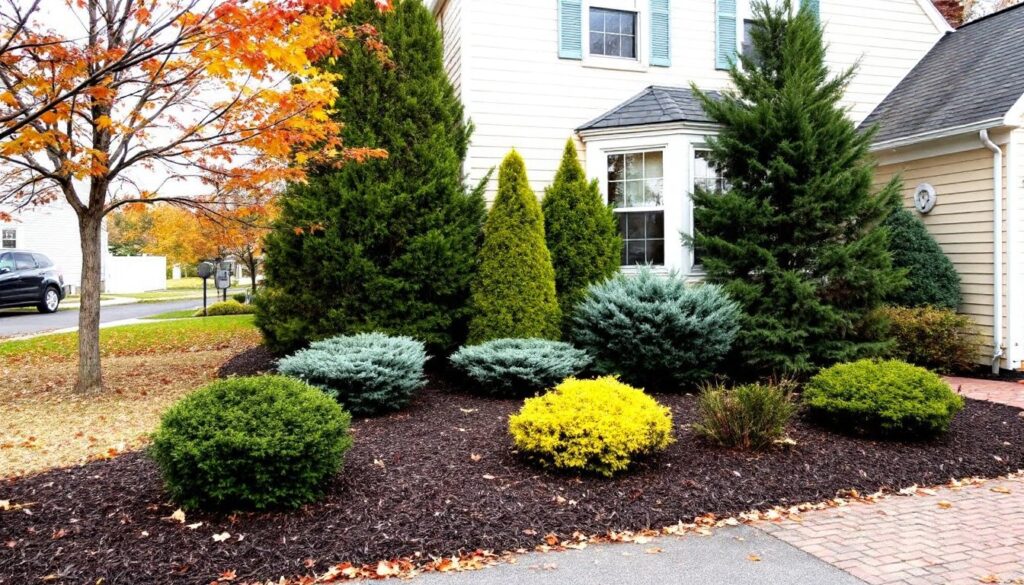
Before-and-after projects serve as proof of concept. They show what’s achievable within specific constraints, lot size, slope, sun exposure, and budget. When homeowners see a comparable yard go from patchy grass and chain-link fencing to tiered garden beds with composite decking, it removes the guesswork and builds realistic expectations.
These transformations also highlight the sequence of work. A successful landscape renovation typically moves from hardscape (patios, retaining walls, walkways) to softscape (soil amendment, planting, mulching). Skipping or reversing that order leads to compacted soil, damaged plants, and wasted materials.
Photographic documentation keeps projects on track. Snapping pics before breaking ground makes it easier to track progress, communicate with contractors, and troubleshoot problems. It’s also critical for permits, many municipalities require site photos as part of grading or retaining wall applications, especially if the slope exceeds 2:1 (two horizontal feet per one vertical foot).
Finally, these case studies reveal which shortcuts pay off and which ones backfire. A $200 gravel path can look sharp if edged properly and laid over landscape fabric. A $5,000 flagstone patio looks amateurish if the base wasn’t compacted in two-inch lifts or if polymeric sand wasn’t swept into the joints.
Planning Your Backyard Transformation: Where to Start
Planning begins with honest evaluation, not Pinterest boards. Homeowners should walk the yard at different times of day to map sun and shade zones, note drainage issues after a heavy rain, and identify utilities before digging. Call 811 at least two business days before any excavation to mark underground lines, gas, electric, water, and fiber.
Measure the space accurately. Use a 100-foot tape measure and sketch the lot to scale on graph paper, marking property lines, existing structures, and mature trees. Tree roots extend two to three times the canopy width, so any hardscape or grading near established trees risks damaging the root zone and destabilizing the tree.
Define goals by priority: privacy, entertainment space, play area, edible garden, low maintenance, or curb appeal. Trying to accomplish all seven in a quarter-acre lot leads to a cluttered, dysfunctional design. Pick two or three and build around them.
Assessing Your Current Space
Start with a soil test. County extension offices typically offer testing for $10–$25, returning results for pH, nitrogen, phosphorus, potassium, and organic matter. Clay-heavy soil needs amendment with compost or peat moss before planting: sandy soil benefits from organic matter to retain moisture.
Evaluate drainage by digging a 12-inch-deep test hole, filling it with water, and timing how long it takes to drain. If water sits for more than four hours, the yard may need a French drain, dry well, or regrading to move water away from the foundation. Grading should slope at least six inches over the first ten feet from the house, per IRC standards.
Identify microclimates, south-facing walls that bake in summer, shaded north exposures that stay damp, windy corners that dry out plantings. These zones dictate plant selection and irrigation needs more than general hardiness zones do.
Budget-Friendly Backyard Makeovers That Deliver Big Impact
Low-cost transformations focus on high-visibility, low-material projects. Mulch refreshes tired beds for $3–$5 per cubic yard when bought in bulk. A two-inch layer suppresses weeds, retains moisture, and defines planting areas, but don’t pile it against tree trunks or siding, which invites rot and pests.
Gravel pathways cost a fraction of pavers. A 3-foot-wide path using ¾-inch crushed stone over compacted base and landscape fabric runs roughly $2–$4 per linear foot in materials. Edge it with steel or aluminum landscape edging (not plastic, which shifts and warps) to keep gravel in place.
Seed or overseed bare patches instead of laying sod. Tall fescue or perennial ryegrass germinates in seven to fourteen days if kept moist. Sod costs $0.35–$0.75 per square foot installed: seed runs $0.02–$0.05 per square foot. The trade-off is time and weed pressure during establishment.
DIY raised beds using 2×10 or 2×12 untreated pine or cedar provide instant structure. Avoid treated lumber in vegetable beds unless it’s labeled “ground contact, residential use” and free of CCA (chromated copper arsenate). A 4×8-foot bed built from two 2×10×8 boards costs around $40–$60 depending on lumber market prices.
Paint or stain fences, sheds, and planters. A gallon of exterior latex or oil-based stain covers roughly 250–350 square feet and transforms weathered wood for $25–$50 per gallon. Pressure-wash first and let dry 48 hours: skipping prep leads to peeling within a season.
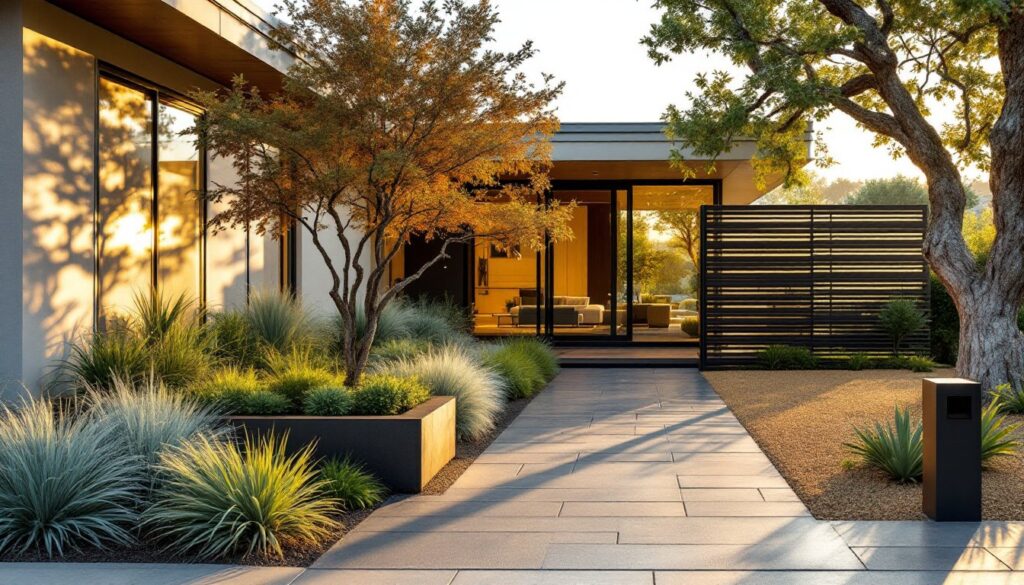
High-End Landscape Transformations Worth the Investment
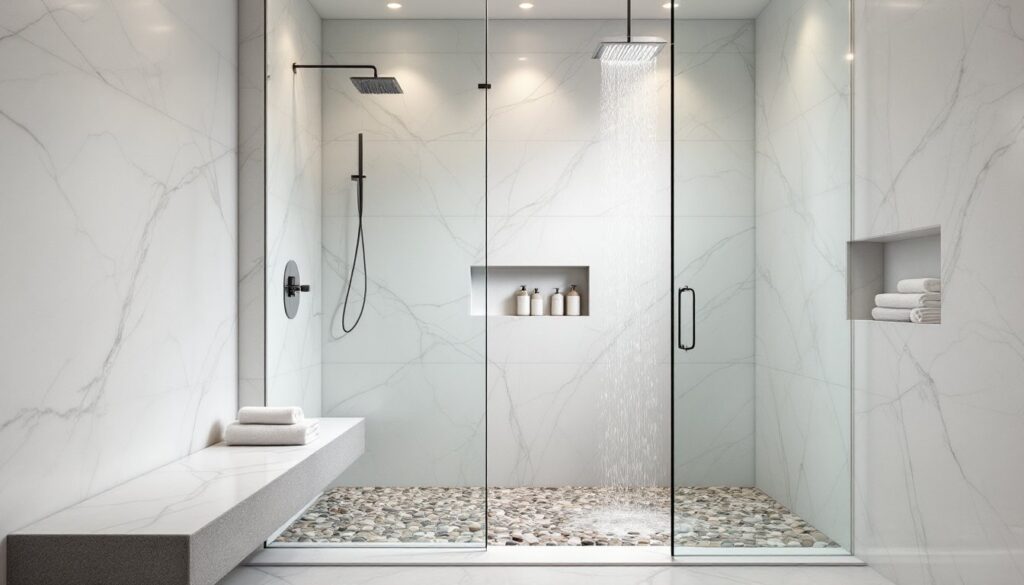
Premium projects center on durable materials and professional installation. Patios using natural stone, porcelain pavers, or thick-set concrete require excavation, aggregate base, sand leveling, and proper pitch for drainage, typically 1% slope, or one inch per eight feet. Expect $15–$35 per square foot installed, depending on material and site access.
Outdoor kitchens with built-in grills, sinks, and refrigeration need gas lines, plumbing, and electrical rough-ins. Any 120V or 240V circuits outdoors must be GFCI-protected per NEC Article 210.8, and gas work requires a licensed plumber in most jurisdictions. Budget $8,000–$25,000+ depending on appliances and counter material (granite, concrete, or tile).
Retaining walls over four feet usually trigger permit requirements and engineering review, especially on slopes or with heavy surcharge loads (soil, planters, or structures above the wall). Segmental retaining wall (SRW) blocks need geogrid reinforcement embedded into the backfill at intervals specified by the manufacturer. Hiring a qualified contractor for walls over three feet is the smart move, collapse risks and liability aren’t worth the DIY savings.
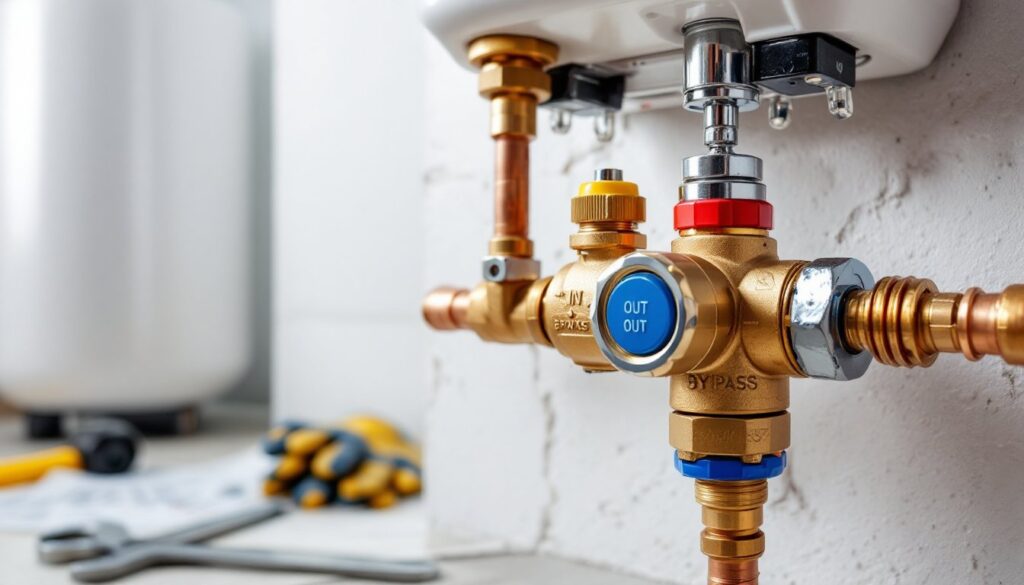
Irrigation systems with programmable controllers, drip zones for beds, and spray heads for turf cost $2,500–$5,000 for an average suburban lot. Pros trench lines at proper depth (below frost line in cold climates), use PVC or poly tubing rated for pressure, and install backflow preventers to meet local codes. Watering manually works, but automation conserves water and sustains plant health during travel or hot spells.
Landscape lighting using low-voltage LED systems adds safety and nighttime curb appeal. Transformers step down 120V to 12V, reducing shock risk. Wire runs shouldn’t exceed 100 feet from the transformer to avoid voltage drop, which dims fixtures. Expect $1,500–$4,000 for path lights, uplights, and accent fixtures installed.
Common Mistakes to Avoid During Your Backyard Renovation
Skipping the call to 811 is the fastest way to hit a gas line, sever fiber-optic cable, or puncture irrigation. It’s free, required by law in most states, and takes two business days. No excuses.
Ignoring drainage during hardscape installation creates standing water, ice patches, and foundation problems. Every patio, walkway, and deck needs positive drainage away from structures. Use a 4-foot level and shims to check slope before setting pavers or pouring concrete.
Planting too deep kills more trees and shrubs than drought. The root flare (where roots spread from the trunk) should sit at or slightly above grade. Mulch volcanoes piled against trunks encourage rot, rodents, and disease.
Choosing the wrong plants for the zone or exposure guarantees failure. A shade-loving hosta scorches in full sun: a sun-loving lavender rots in damp shade. Check USDA hardiness zones, but also match water, light, and soil needs to the planting site.
Underestimating material quantities leads to mid-project trips and mismatched dye lots in pavers or mulch. Calculate square footage, add 10% for waste and cuts, and buy all hardscape materials from the same lot. For mulch, one cubic yard covers roughly 100 square feet at three inches deep.
Renting the wrong equipment or skipping it entirely slows work and risks injury. A plate compactor is essential for any base prep under pavers or gravel. A sod cutter removes old turf faster and cleaner than a shovel. A walk-behind trencher beats hand-digging irrigation lines. Most rentals cost $50–$150 per day, cheap compared to the time and back pain saved.
Timeline Expectations: How Long Does a Complete Transformation Take?
A full backyard overhaul, grading, hardscape, planting, and irrigation, takes four to twelve weeks depending on size, complexity, and weather. Breaking the project into phases spreads cost and minimizes disruption.
Phase 1: Demolition and rough grading (one to two weeks). Remove old sod, structures, and debris. Rent a dumpster if hauling more than a pickup-truck load. Rough-grade to establish drainage slopes and prep for base materials.
Phase 2: Hardscape installation (two to four weeks). Lay patios, walkways, retaining walls, and edging. This phase requires the most precision, compacting base in lifts, checking level and slope, cutting pavers or stone. Weather delays are common: rain turns base material into soup.
Phase 3: Plumbing, electrical, and irrigation rough-in (one to two weeks if DIY, less with pros). Trenching, laying lines, installing valves and heads. Inspections may be required before backfilling trenches.
Phase 4: Soil amendment and planting (one to two weeks). Spread compost, topsoil, or composted manure and till into existing soil to a depth of six to eight inches. Install plants per design, water thoroughly, and mulch beds.
Phase 5: Finish details (a few days to one week). Final grading, seeding or sodding, lighting installation, furniture placement, and cleanup.
DIYers working weekends should double these timelines. A project a pro completes in six weeks often stretches to three or four months for a homeowner juggling work and family. That’s normal, just plan around weather windows and avoid starting major earthwork in late fall or winter in cold climates.
Plants need time to establish. Trees and shrubs planted in spring or fall have the best success: summer planting demands vigilant watering. Newly seeded lawns need daily watering for two to three weeks until germination, then tapering to deep, infrequent watering to develop roots.
Permits add time. Depending on jurisdiction, plan review and approval for retaining walls, grading, or electrical work can take two to six weeks. Start the permit process early to avoid stalling mid-project.